To film parkour well, you don’t need a cinema camera. A phone held steady, a wide shot that shows the whole movement and a camera position close to the action will beat expensive gear used badly. Get the whole move in frame, keep the camera still or moving smoothly, and save slow motion for the moment that matters. Add a gimbal or an action camera only once you know which shots you’re missing.
This post contains affiliate links. As an Amazon Associate, we earn from qualifying purchases at no extra cost to you.
Quick picks: a JOBY GorillaPod to film yourself training alone, the DJI Osmo Mobile 7 to follow a friend smoothly with your phone, and the GoPro HERO13 Black for very wide, close-up and point-of-view shots.
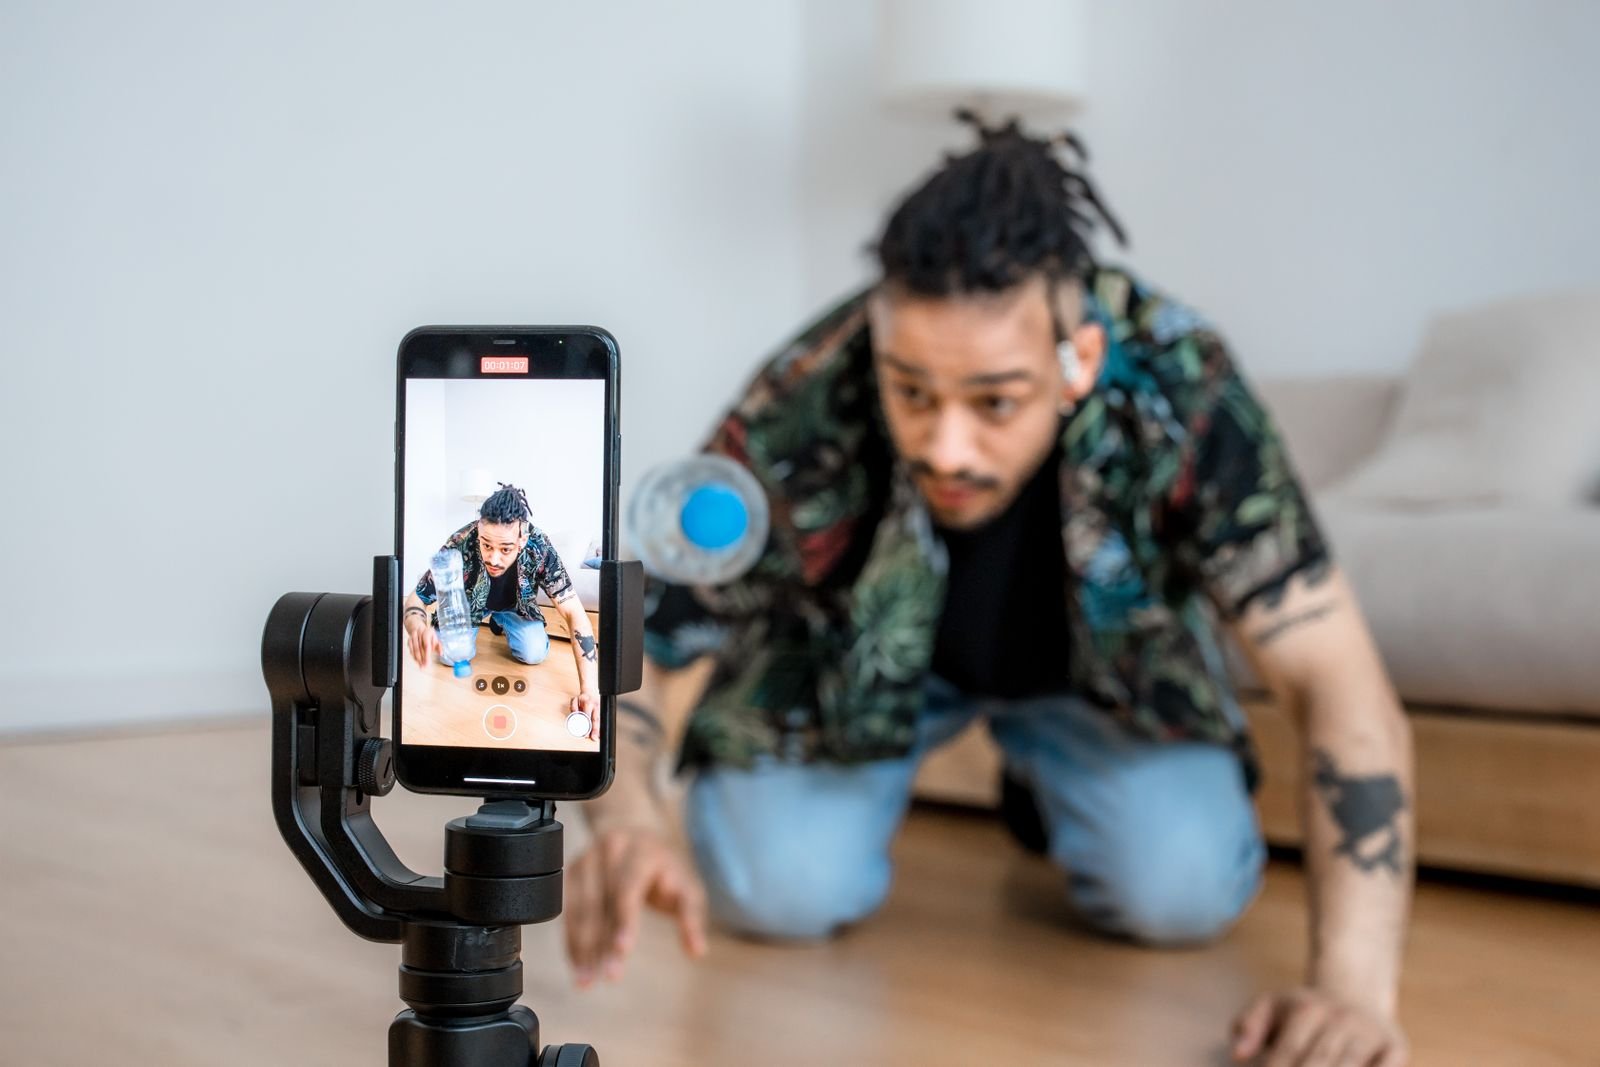
Why Parkour Is Hard to Film
Parkour moves are fast, they cover distance and they often happen at odd heights. A shot that’s too tight cuts off the take-off or the landing. A shot that’s too far away makes a big jump look small. And a shaky handheld camera makes a clean move look messy.
Jack Dodds, a photographer and videographer with the Storror team, makes the point in Parkour UK’s introduction to parkour photography that understanding the movement is what lets you anticipate where to be. If you train yourself, you already have an advantage.
Shooting Tips That Make the Biggest Difference
Most of these come from parkour filmmaker Scott Bass, whose advice is collected in Beyond Photo Tips’ insider guide to filming parkour.
- Get close, but keep the whole move in frame. You want to see the take-off and the landing. A wide lens lets you stand closer and still fit everything in.
- Keep the camera steady. Bass notes that a very wide lens also makes shots look steadier. A tripod, a gimbal or simply bracing your elbows against your body helps.
- Find unusual angles. Low to the ground for a precision jump, above a rail looking down or level with a wall for a climb-up. A different angle makes an ordinary move look new.
- Mix wide shots with tracking shots. A wide, still shot shows the whole line. A tracking shot that follows the athlete shows speed.
- Keep slow motion short. Use it only where it helps a move read better, and keep it to a few seconds.
- Trim tightly. Start each clip as the move begins and cut it as soon as the move is finished.
- Stick to one look. Using the same camera and lens throughout makes a video feel consistent.
- Show the face when you can. Dodds points out that a visible face connects the viewer to the person moving.
Phone Settings Worth Checking
- Frame rate: for normal-speed clips, your phone’s standard video mode is fine. For slow motion, use a higher frame rate so the slowed footage stays smooth.
- Orientation: decide before you start. Horizontal suits YouTube and longer lines. Vertical suits short-form apps and tall moves like climb-ups. Don’t mix them in one video.
- Lens: try your phone’s ultra-wide camera for close shots. Check the edges of the frame, because ultra-wide lenses can bend straight lines.
- Focus and exposure: on most phones you can press and hold on the landing spot to lock them, so the camera doesn’t hunt mid-move.
- Storage and battery: high frame rates fill storage quickly. Clear space and charge up before a session.
Stay Safe Behind the Camera
Getting close is good advice, but the camera operator still needs to be out of the way. Neither guide quoted above covers safety, so here’s what we’d add:
- Agree on your spot before each take. The athlete should know exactly where you’ll be, and you should never stand in the landing zone or the bail-out path.
- Don’t walk backwards blind. When tracking someone, check your route first, especially near steps, edges and traffic.
- Leave the phone out of the landing area. A tripod in the wrong place is a trip hazard.
- Film the move only once it’s ready. A camera can push people to try things before they’re ready. If the athlete hasn’t landed it comfortably without a camera, it isn’t the day to film it.
- Be considerate in public. Avoid filming strangers up close, and respect any spot where filming isn’t allowed.
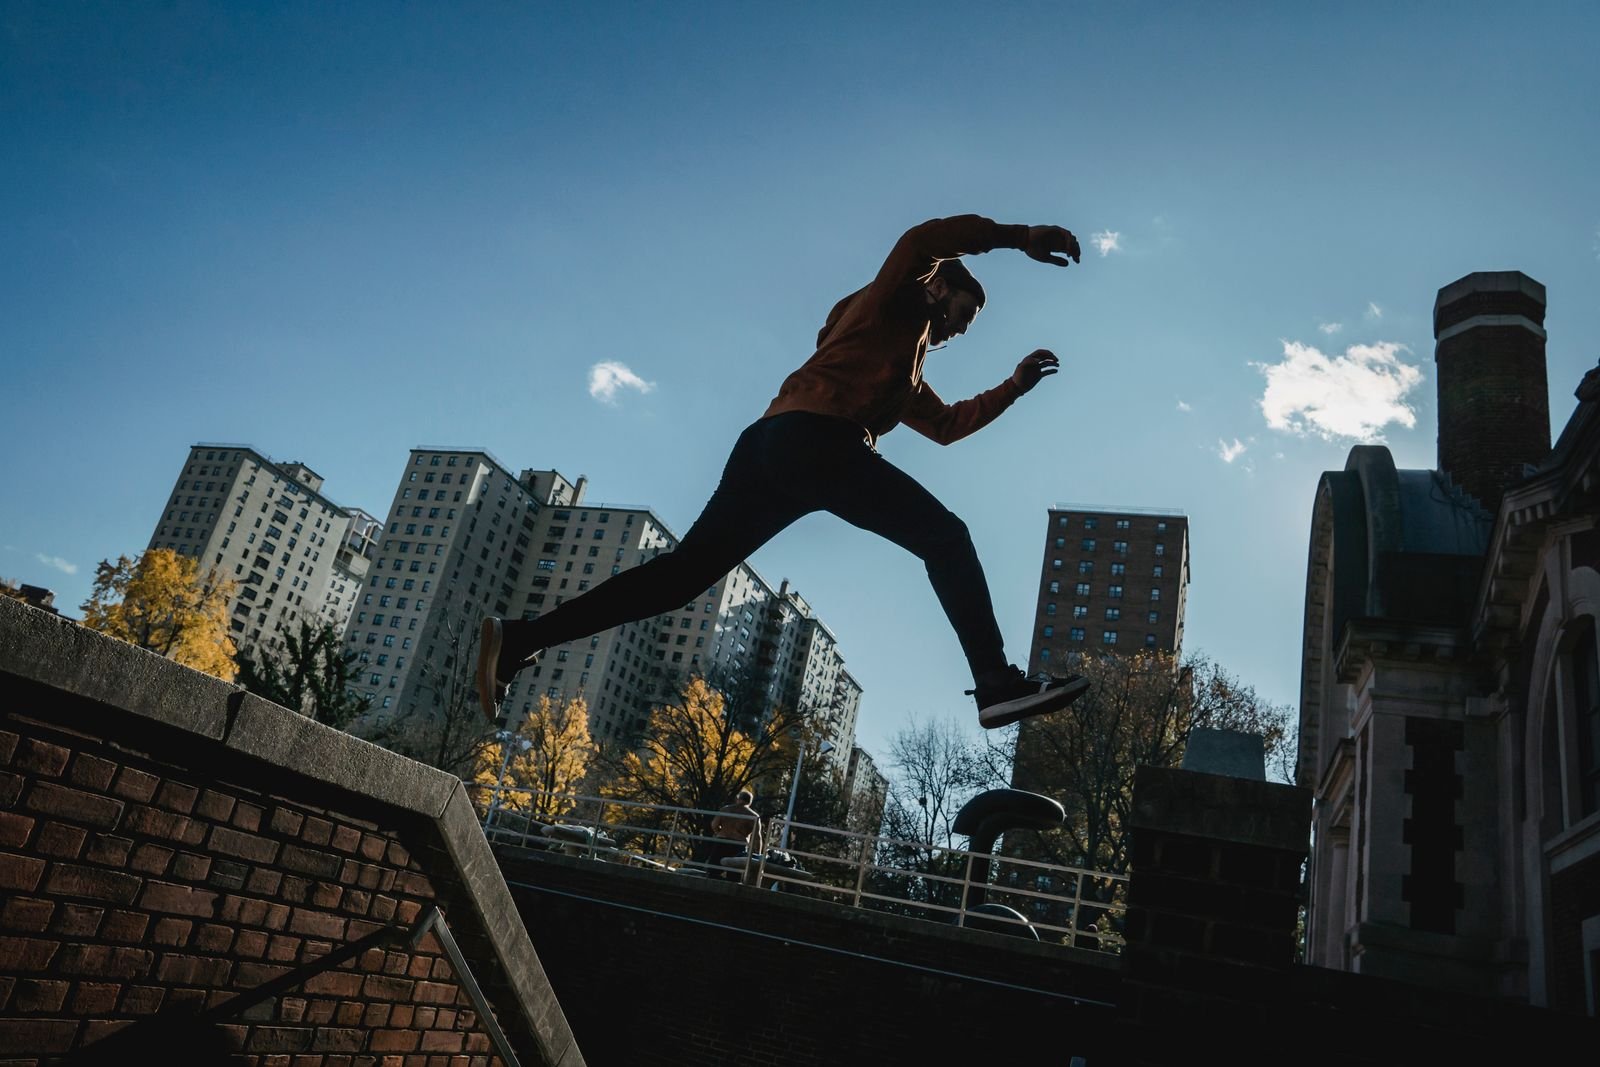
Three Setups, From Free to Dedicated
We haven’t tested these ourselves. Specs come from each brand’s own product page.
1. Phone Only
Start here. Prop the phone on a wall or bag for solo sessions, or have a friend hold it with both hands and elbows tucked in. Most of the tips above cost nothing.
2. Phone Plus a Tripod or Gimbal
JOBY GorillaPod
- Who it suits: anyone who trains alone and wants to film themselves.
- Why it’s worth a look: the flexible legs can wrap around a railing or pole, so you can place the camera where a normal tripod won’t stand. JOBY lists a 360° ball head, a standard 1/4-inch thread and a magnetic phone mount on its GorillaPod 1K Gen 2.
- The catch: JOBY makes several GorillaPod sizes, so check that the one you pick is rated for your phone or camera. Wrapped legs can slip on a smooth, wet rail.
DJI Osmo Mobile 7
- Who it suits: someone who films friends and wants smooth tracking shots on a phone.
- Why it’s worth a look: DJI lists a weight of about 300 g with a built-in tripod and magnetic phone clamp, up to about 10 hours of battery life in ideal conditions, and support for phones weighing 170 to 300 g. The 7P version adds a built-in extension rod and a tracking module.
- The catch: check your phone’s weight and width against the supported range, and remember a gimbal smooths out shake but not bumps from running.
3. An Action Camera
GoPro HERO13 Black
- Who it suits: someone who wants very wide shots up close, point-of-view footage or a camera they won’t mind getting scuffed.
- Why it’s worth a look: GoPro lists 5.3K at 60 fps, 4K at 120 fps, 1080p at 240 fps for slow motion, HyperSmooth 6.0 stabilisation and waterproofing to 33 feet. An optional Ultra Wide Lens Mod is sold separately.
- The catch: it’s a second device to charge and manage, and a phone is often good enough for clips you’ll post online.
A Simple Shot List for Your First Edit
- A wide establishing shot of the spot.
- Each move once from a wide, still angle.
- Your best move again from a second, closer angle.
- One tracking shot of a short line.
- A few seconds of slow motion on the hardest moment.
- A short closing shot, such as the group at the spot.
For inspiration on pacing and angles, the films in our list of parkour documentaries are worth watching with a filmmaker’s eye.
Frequently Asked Questions
Is a phone good enough to film parkour?
For most people, yes. Where you stand, how steady the shot is and how tightly you trim it matter more than the camera. Upgrade once you know what your phone can’t do.
Gimbal or action camera first?
If you mostly film friends and want smooth following shots, a gimbal for the phone you already own makes sense. If you want very wide shots up close or point-of-view footage, an action camera fits better.
How do I film myself training alone?
Use a small tripod or a flexible one wrapped around a rail, frame a wide shot that covers the take-off and the landing, then start recording before you walk into place. Keep the tripod well away from where you’ll land.
Where to Go Next
Need something worth filming? Try our step-by-step guide to the parkour climb-up or the parkour vaults for beginners.