Landing is the skill that determines how long you get to keep training. The progression is unglamorous and it works: start from a curb, then knee height, then hip height, then chest height, adding height only once the previous level is silent, stable, and painless. The single best feedback you have is sound, a quiet landing means the force went where it should.

What a Correct Landing Actually Does
A good landing spreads the impact across time and across multiple joints. You contact on the balls of your feet, then your ankles, knees, and hips all bend to absorb, in that order. What you’re avoiding is a short, hard stop, heels first, legs locked, all the force arriving at once through your skeleton rather than being managed by muscle. That difference is audible, which is why coaches keep telling you to land quietly.
Step 1: First Contact, at Curb Height
Step off a curb, don’t jump off it. Lead with one leg, land on both feet, absorb, stand up. This looks trivially easy and it’s where the actual work starts, because you’re calibrating what a controlled absorption feels like with almost no consequence attached. Repeat until it’s boring.
Step 2: Watch Your Knees
As height increases, knee alignment becomes the thing to police. Your knees should track roughly above your toes. Two failure patterns matter: collapsing inward, and shooting far forward past the toes. Both concentrate load somewhere the joint doesn’t want it. If you can’t hold alignment at a given height, that height is currently too high, regardless of whether you can survive it.
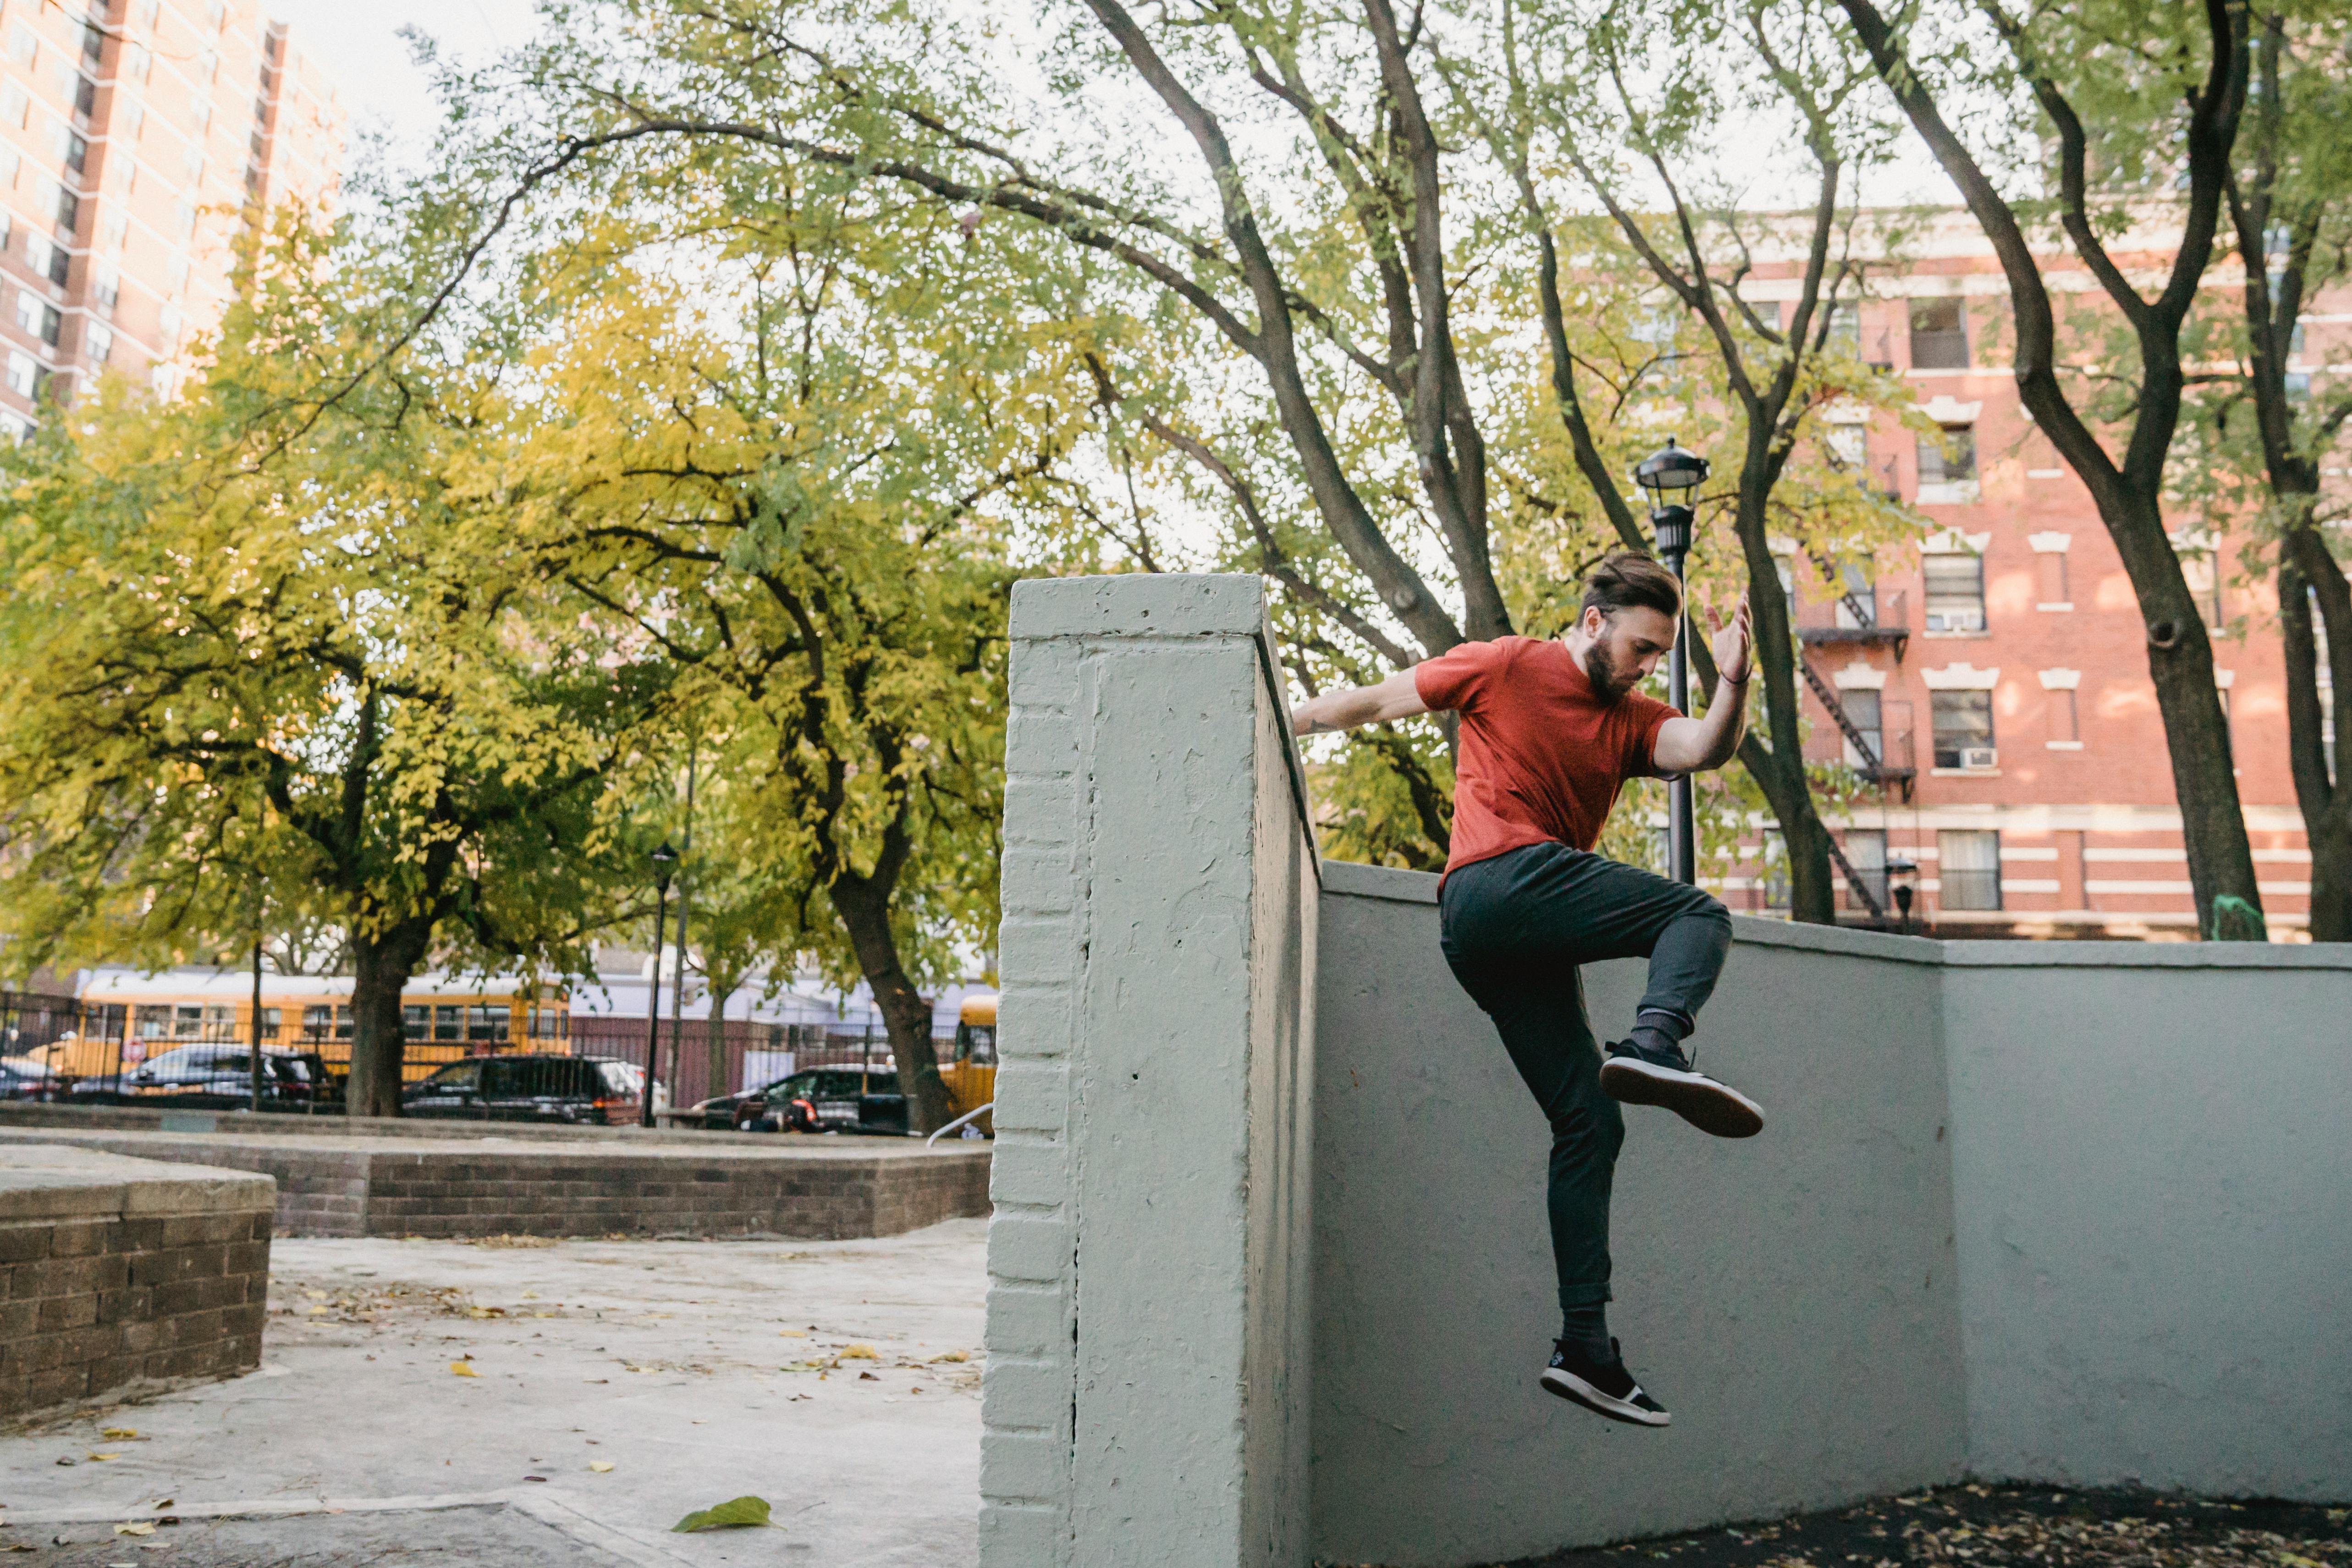
Step 3: Work Up the Ladder
London Parkour’s landing curriculum lays out a genuinely useful sequence of drop challenges: first contact, hip-height drop, chest-height drop, deadhang drop, cat to drop, high cat to drop, depth jump, broad drop, drop twist, and finally drop roll. The standard they set for passing each stage is worth borrowing, landing on both feet simultaneously in a stable position with no shuffling or foot movement afterward. If you have to take a step to catch yourself, you haven’t passed that level yet.
Step 4: Add the Roll
Beyond a certain height, absorbing everything through your legs stops being viable and the roll takes over, redirecting downward momentum into forward motion across your back and shoulder. Notice it sits at the end of that progression, not the start. A roll layered on top of poor landing mechanics doesn’t fix them, it just adds a second thing to get wrong.
The Mistake That Breaks Wrists
Reaching out to catch yourself with straight, locked arms is how landings turn into wrist, elbow, and shoulder fractures. The instinct is strong and it’s wrong. Prioritise getting your feet down and using your legs, and if you’re going past what your legs can absorb, that’s what the roll is for, not your hands.
An Honest Note on Volume
Repeatedly dropping from height isn’t especially kind to your joints, however good your technique is. Landing well is a skill worth owning, but it isn’t something to grind for high repetitions every single session. Train it deliberately, in small doses, and let the height come slowly.
Frequently Asked Questions
How high should a beginner be dropping from?
Unless you’ve been training drops for months, staying at or below knee height is a reasonable ceiling. Coaches routinely advise against going higher early, and there’s no skill benefit to rushing it.
Why does landing quietly matter so much?
Noise is a proxy for how force is being absorbed. A loud landing means impact is being taken abruptly, largely through bone and passive structures. A quiet one means your muscles absorbed it across a longer time window. It’s the easiest self-assessment tool available, and it’s free.
Should I land on soft surfaces while learning?
Grass or mats are a sensible place to build the pattern, particularly for anything above curb height. Concrete gives you no margin, and there’s nothing to prove by learning on it before your mechanics are consistent.
Where to Go Next
Landing sits at the centre of staying uninjured. Read next: How to Build Ankle Strength for Safer Landings and Common Parkour Injuries by Body Part.