This post contains affiliate links. As an Amazon Associate, we earn from qualifying purchases at no extra cost to you.
A parkour box is a sturdy wooden box you can jump onto, vault over and land precision jumps on at home. The simplest reliable build uses one 4 by 8 foot sheet of 3/4-inch plywood, wood glue, screws and two internal supports. It makes a 16 by 20 by 24 inch box that gives you three heights just by turning it over. Sand every edge, check it doesn’t wobble, and step down off it rather than jumping down while you’re getting used to it.
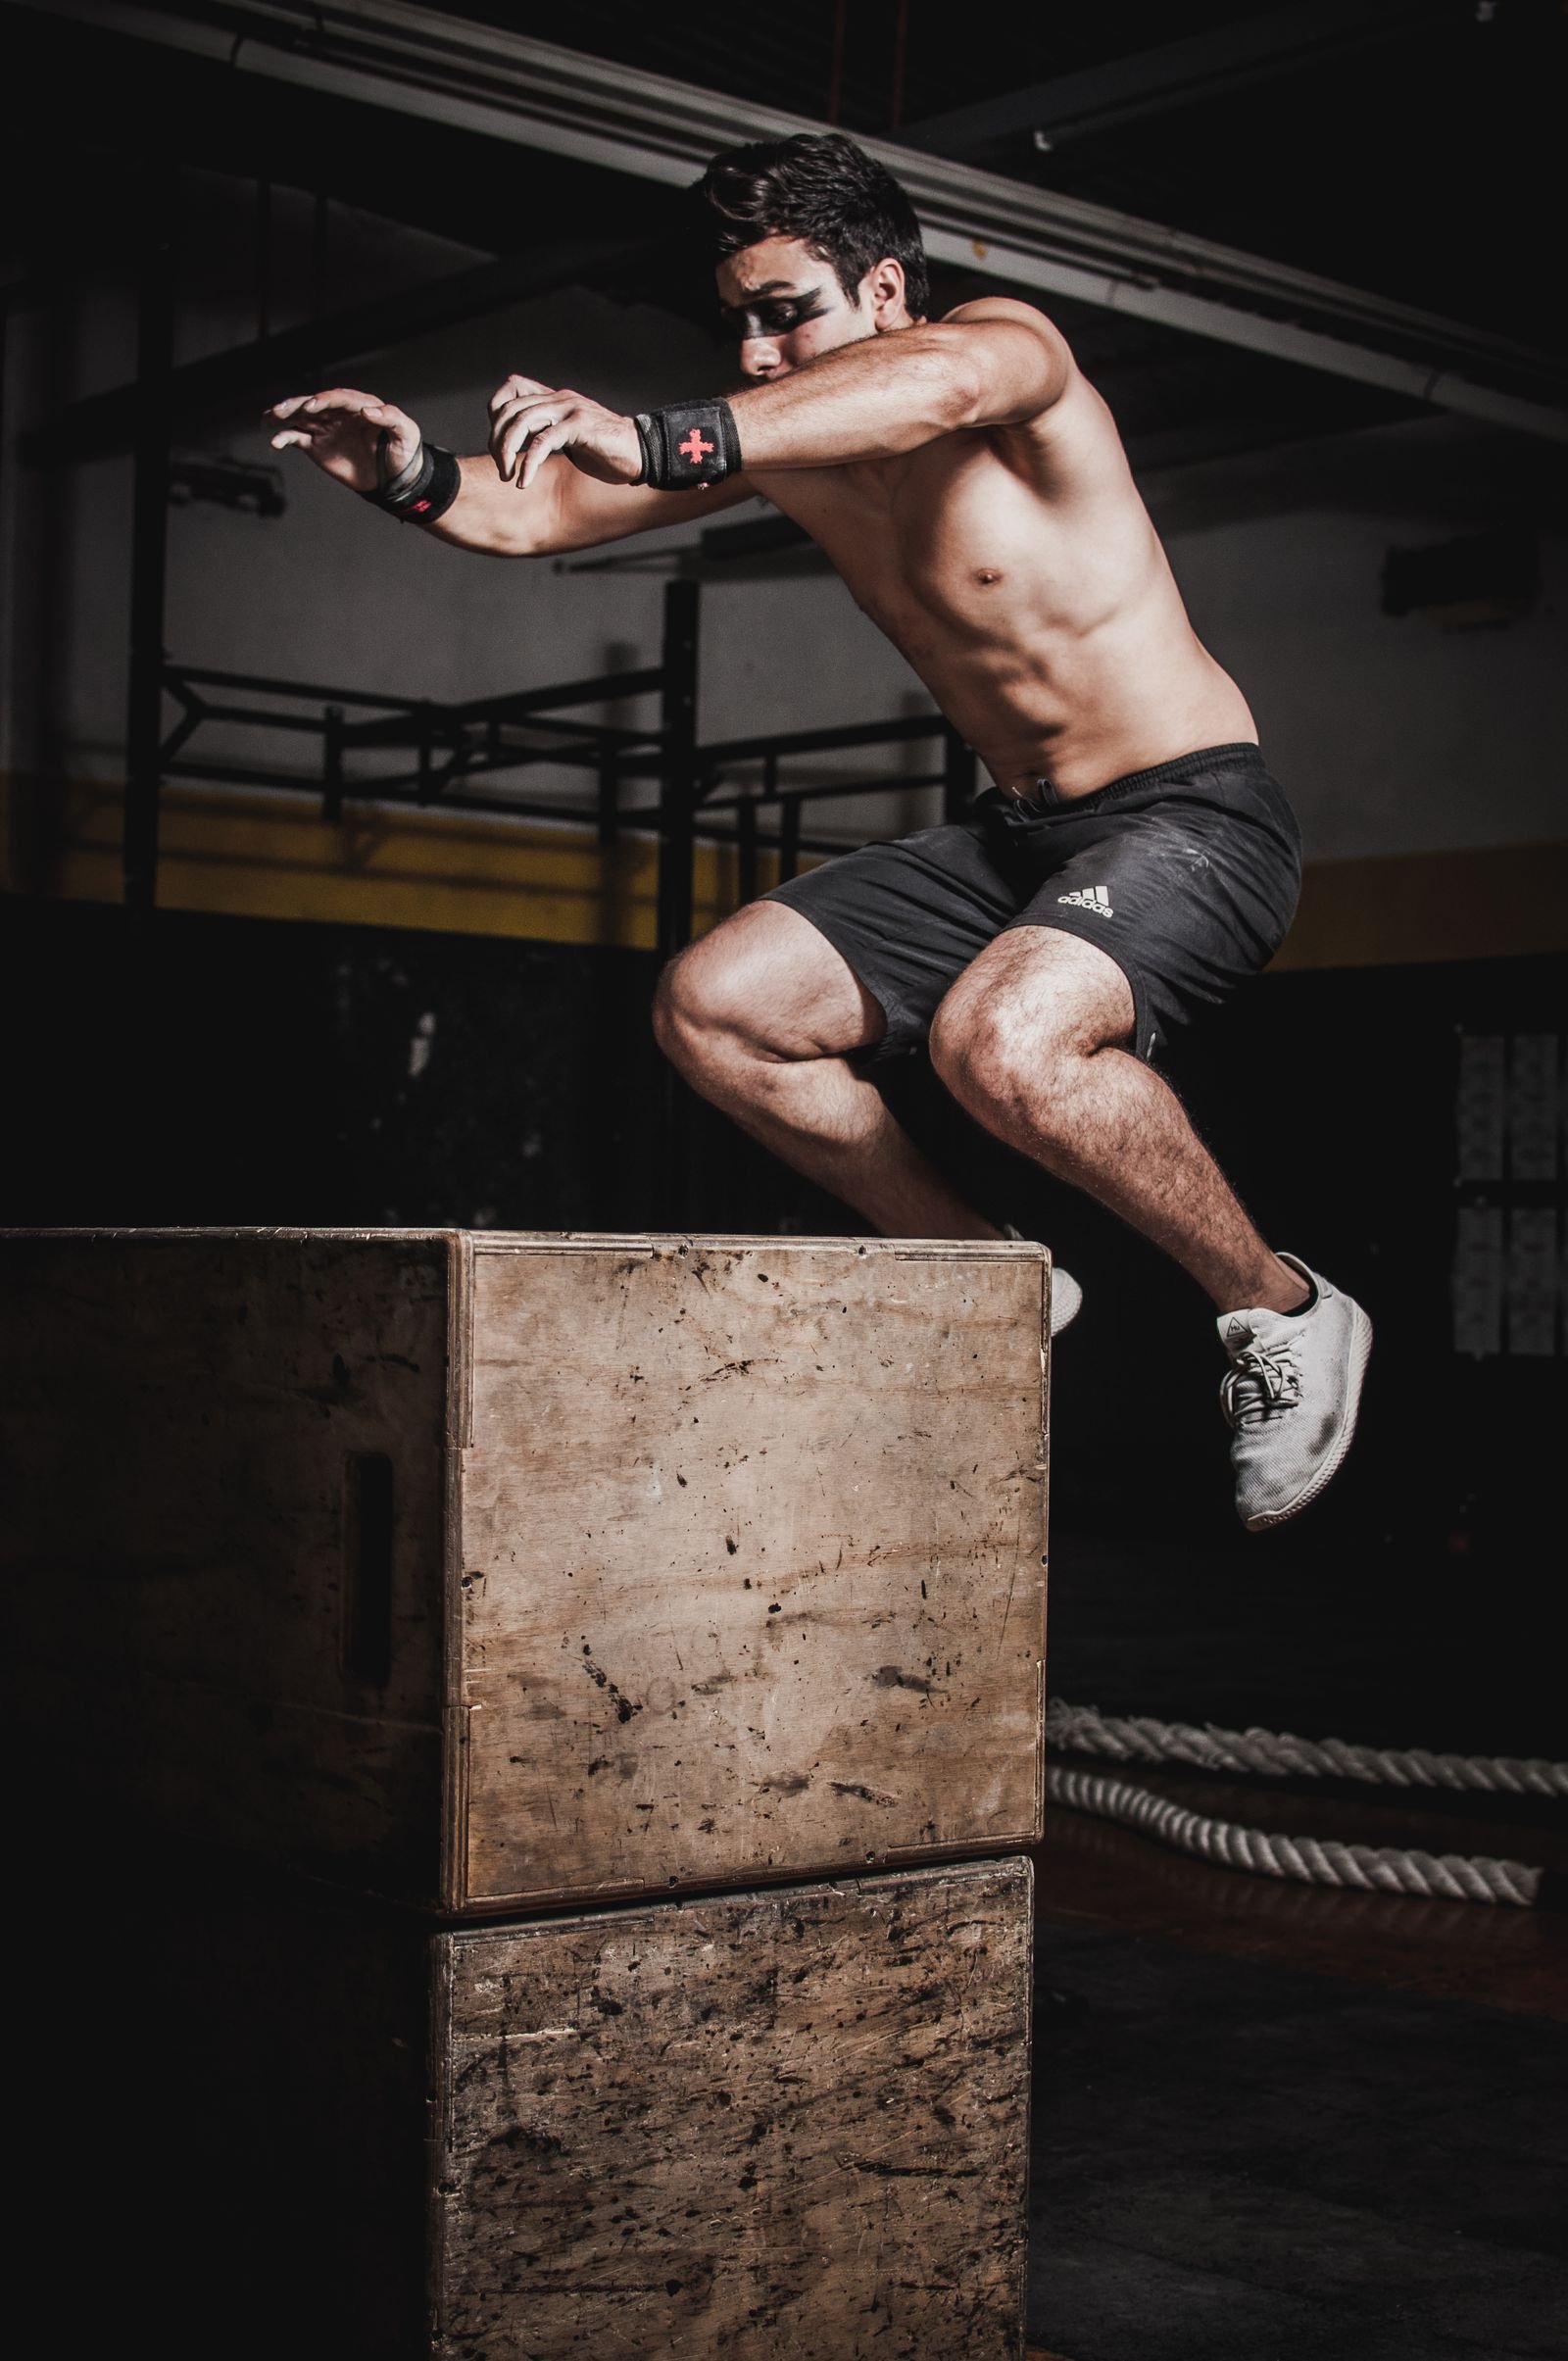
What a Parkour Box Is Good For
- Precision jumps. Jumping onto the top of the box and sticking the landing is a controlled way to practise precision jumps at a fixed height.
- Box jumps and step-ups. The staples of plyometric training for parkour.
- Low vaults. On its 16-inch side, the box is low enough to practise the safety vault before you move to walls and rails.
- Balance and quiet landings. Stepping off and landing silently next to it is a simple drill you can repeat every session.
Materials and Cut List
This build follows the 16/20/24 plyo box plan from Designs by Studio C. You need one 4 by 8 foot sheet of 3/4-inch plywood, wood glue and 1-1/2 inch screws. For tools, you’ll want a saw for the panels, a jigsaw or bandsaw for the support notches, a drill and a countersink bit.
| Piece | Quantity | Size |
|---|---|---|
| Top and bottom | 2 | 20 x 24 in |
| Sides | 2 | 14-1/2 x 24 in |
| Ends | 2 | 14-1/2 x 18-1/2 in |
| Support insert | 1 | 14-1/2 x 18-1/2 in |
| Support insert | 1 | 14-1/2 x 22-1/2 in |
How to Build It
- Cut the panels. Cut all seven pieces from the sheet, then cut matching notches halfway into each support insert so they slot together in a cross.
- Pre-drill. Drill and countersink your screw holes. The plan suggests keeping screws about 2 inches from each end so they don’t hit the screws coming from the other side.
- Attach the sides. Run a bead of glue along each joint and screw the two sides to the bottom panel.
- Fit the ends. Glue and screw the two end panels between the sides.
- Add the supports. Slot the two inserts together, drop them into the box and screw through the sides and ends into them. The plan credits this inner support with giving the box its durability under jumping loads.
- Close it up. Glue the top edges and screw the top panel on.
- Finish it. Sand every edge and corner until nothing can catch a shin or a hand.
Prefer metric? Bosch’s DIY plyo box guide uses 15 mm birch plywood with 20 by 20 mm timber supports inside, rates the project as medium difficulty, and estimates 3 to 8 hours and under €50 in materials. It also suggests an optional coat of wood oil to seal it against sweat.
Make It Safe Before You Use It
- Stop it sliding. Use the box on a non-slip floor, or add rubber feet or a rubber mat underneath. A box that shifts when you land is worse than no box.
- Check for wobble. Push down hard on each corner and stand on it before you jump on it. Any creak or movement means a joint needs more glue or screws.
- Know that it’s untested. Commercial boxes come with a rating. Titan Fitness, for example, lists a 440 lb capacity for its 3-in-1 wooden box. A home build has no tested rating, so build carefully and inspect it regularly.
- Check screws and edges. Look for loosened screws and splintered corners every few weeks.
Training on It Safely
The guidance from Motra’s box jump guide is a good set of rules for any box work:
- Start low. Use the lowest height until your form is consistent.
- Land with both feet and soft knees. Absorb the landing in a shallow squat, not with straight legs and not in a deep squat.
- Keep your whole foot on the box. Don’t let your heels hang off the edge.
- Step down. Motra advises stepping down one foot at a time instead of jumping off, to avoid straining the Achilles tendon.
Add box work gradually. Lots of repeated jumping too soon is a common route to sore shins, so read how to prevent shin splints before you add a box session to your week.
Rather Buy One?
We haven’t tested any boxes ourselves. If you don’t want to build, a 3-in-1 wooden plyo box in the 16, 20 and 24 inch size gives you the same three heights as this build. Check the listing for a stated weight capacity and the plywood thickness before you buy.
Frequently Asked Questions
What height should a parkour box be?
Start with the lowest side, 16 inches on this build, and only turn it over once your landings on that height are quiet and controlled every time. For precision jump practice, height matters less than the distance and the stick.
Is 3/4-inch plywood strong enough?
It’s what this plan uses, together with glue on every joint and the two internal supports. Don’t skip the supports. They’re what stop the top panel flexing when you land.
Can kids use a parkour box?
With supervision and at a low height, yes. A full 16-inch box is high for a young child, so start them with step-ups and small jumps onto something lower. Our guide on what age kids can start parkour covers what’s appropriate at each age.
Where to Go Next
Put the box to work with How to Do a Precision Jump and Plyometrics for Parkour. If you want something softer to land on beside it, see Crash Mats for Parkour at Home.