Never put parkour shoes in a washing machine or a dryer. Brush the soles dry after every session, and when they genuinely need a deep clean, use cold water and a drop of dish soap by hand. Heat melts the glue holding your sole on, and detergent leaves a film that makes rubber slick, which is the opposite of what your only piece of safety equipment is for.

A rock climber has a rope and harness. A skater has a helmet and pads. A traceur has the friction between a rubber sole and a concrete wall, and that’s it. That friction is what keeps you from slipping out during a cat leap or a wall run.
Why the Washing Machine Destroys Grip
Two separate failures, and both are permanent.
Modern performance shoes use heat-activated glues to bond the sole to the upper. Heat from a dryer, or even a warm wash cycle, softens that bond and causes delamination, where the sole starts peeling away from the shoe. Once it starts it doesn’t stop, and a flapping sole is a trip hazard rather than a cosmetic problem.
Separately, laundry detergents contain surfactants that leave a microscopic film on rubber. The sole ends up feeling smooth and plastic-like instead of tacky. It looks clean and grips worse than it did dirty.
The same logic rules out another common mistake. REI’s guidance on climbing shoe care is blunt about it: never leave shoes in a hot car, because high temperatures deform rubber, melt glue and delaminate the rand.
The 30-Second Habit That Matters Most
You shouldn’t deep-clean weekly. What you should do is a dry clean after every session. Use a stiff brush to knock dried mud and dust out of the tread, then bang the soles together to clear the lugs.
Dust matters more than it sounds. Fine grit sits between your sole and the surface like millions of tiny ball bearings, and it’s the single most common reason a shoe that gripped last week doesn’t today. Climbers do a field version of this constantly, wiping soles on a trouser leg between attempts. It costs nothing and it works.
The Cold Water Deep Clean
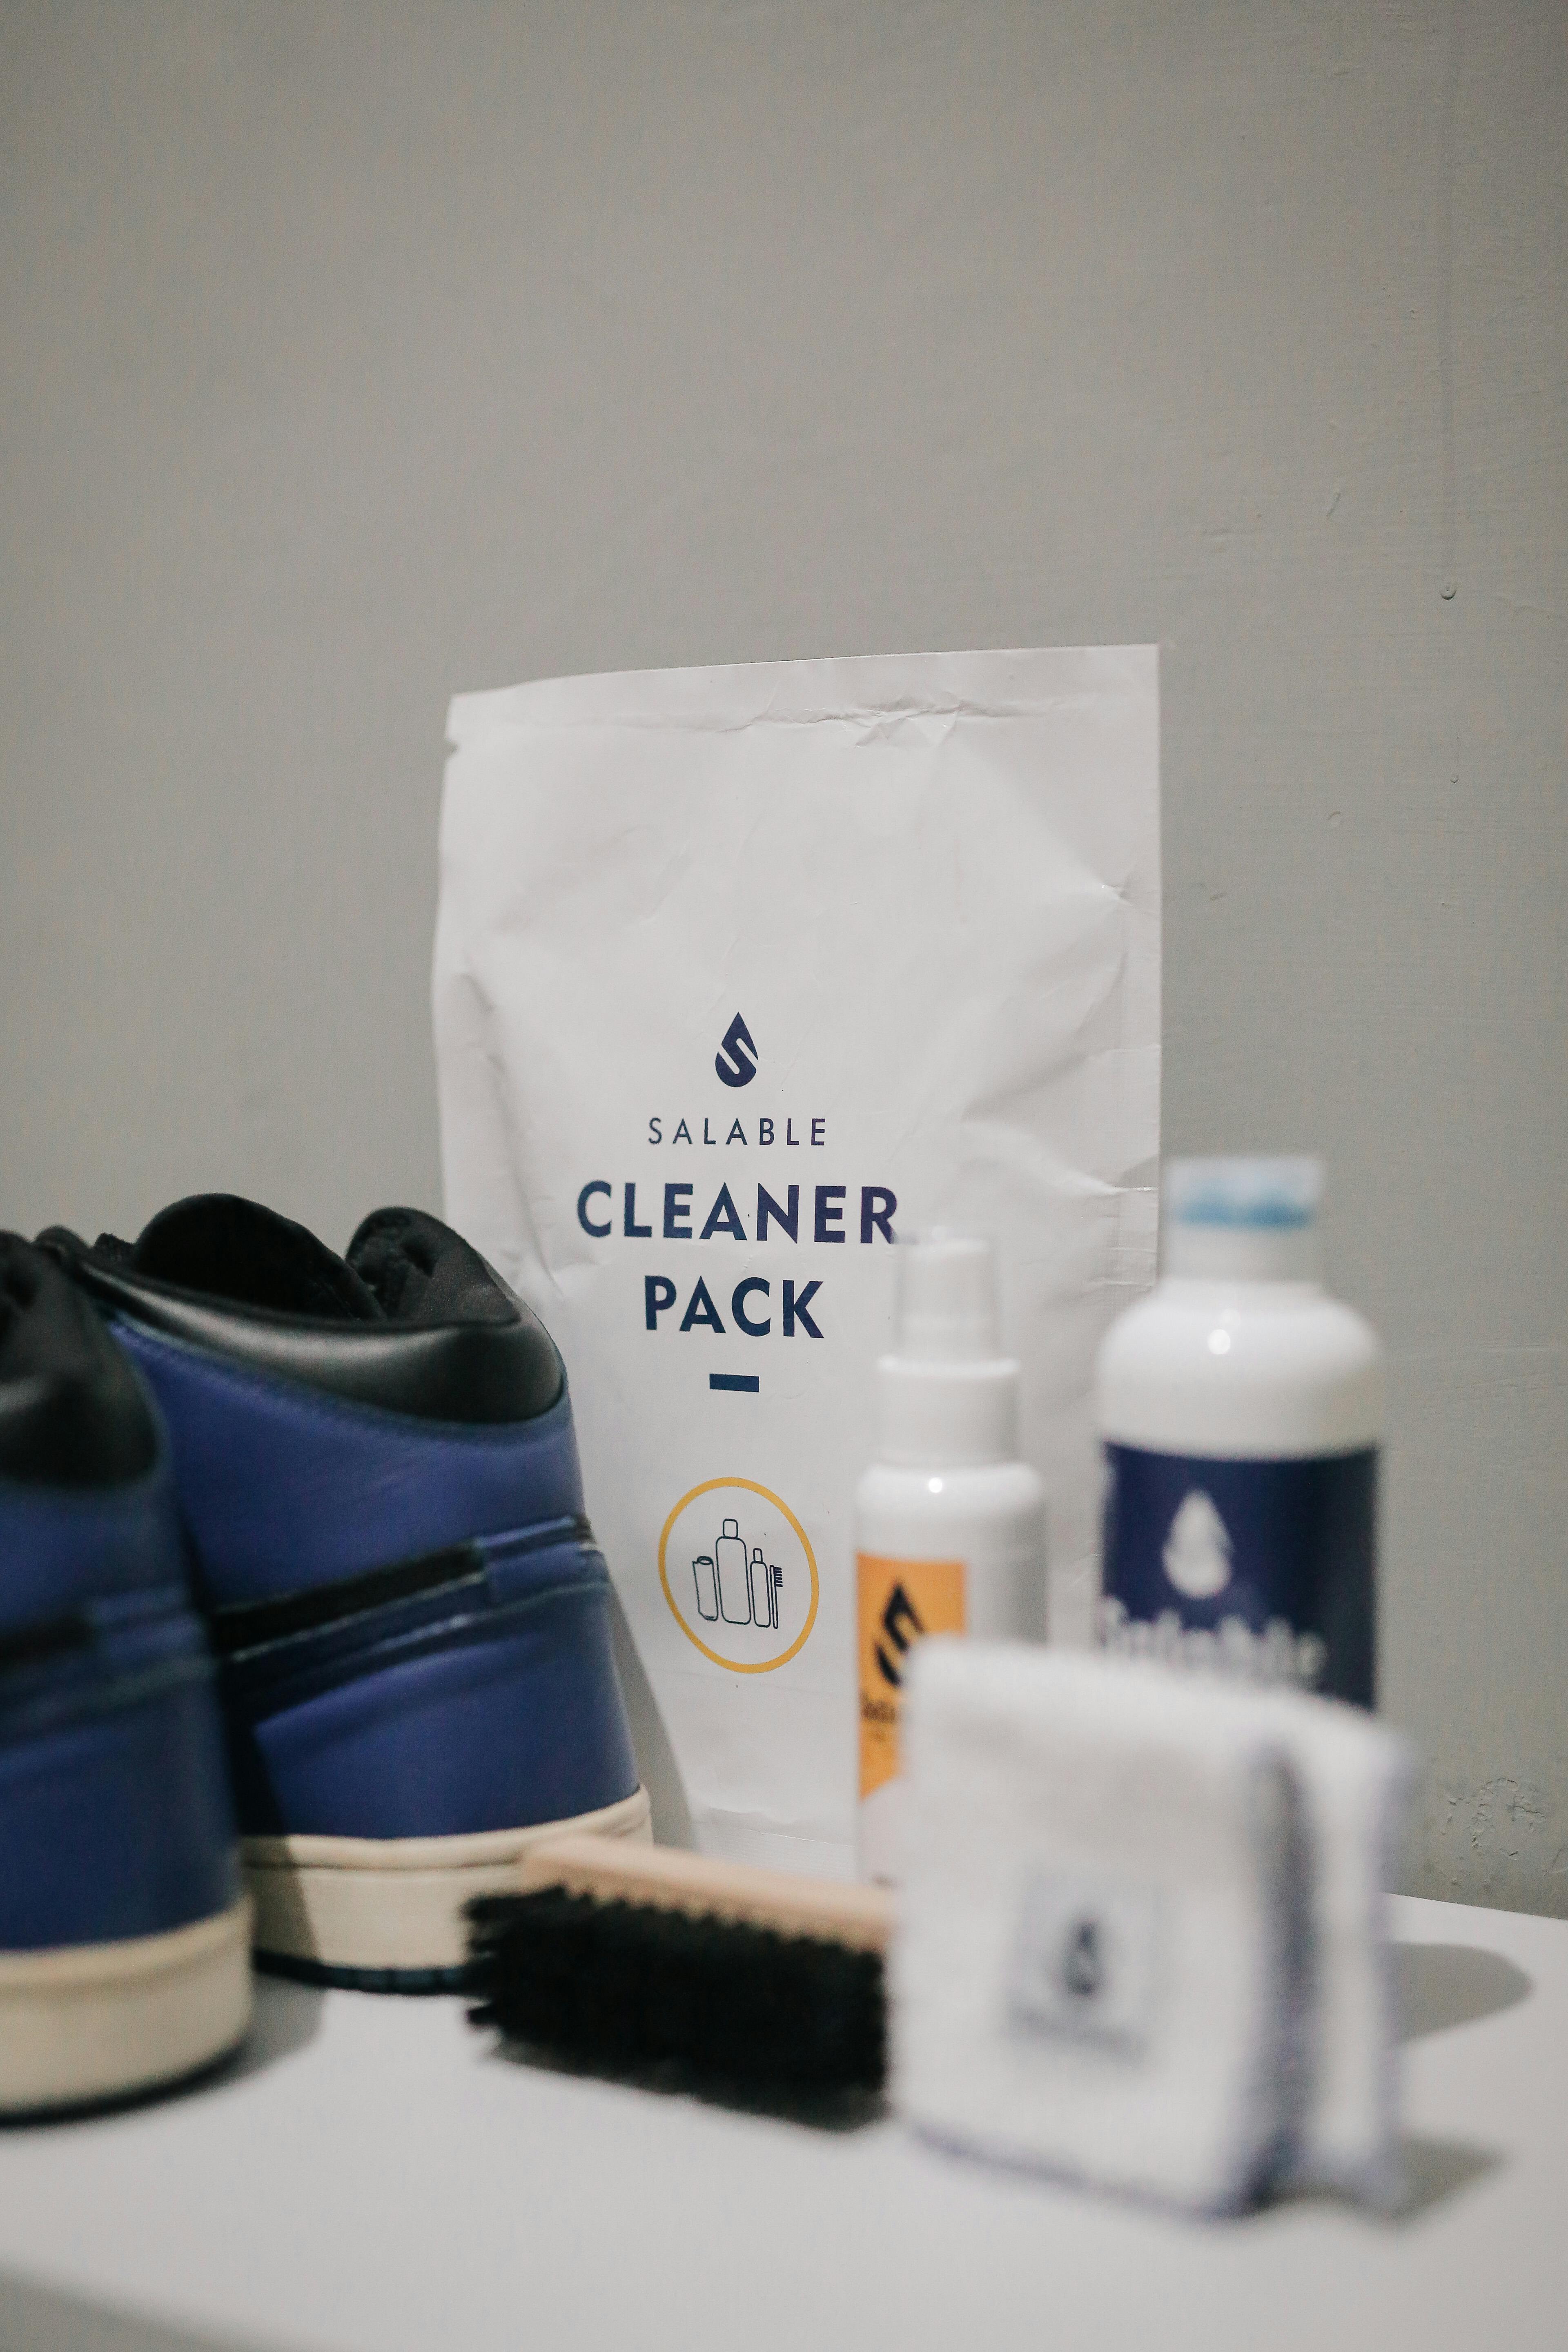
When they’re genuinely filthy or starting to smell:
- Remove the laces and insoles and wash them separately. The laces can go in the machine safely.
- Use a bucket of cold water and a tiny drop of clear dish soap. Dish soap is designed to strip oils, which is exactly what rubber needs.
- Scrub the sidewalls and tread crevices with an old toothbrush.
- Rinse thoroughly. Any soap residue left on the sole becomes genuinely slippery once it gets wet again.
- Air dry completely, away from direct heat and never in a dryer.
That last step deserves more attention than it usually gets. Damp rubber feels slick for a while even after it looks dry, so don’t train in shoes you cleaned an hour ago.
Restoring Glazed Rubber
If your soles look shiny and feel hard, the surface has glazed over and oxidised. Two options, both with caveats worth knowing.
Isopropyl alcohol. A cloth with a small amount of alcohol wiped over the rubber strips accumulated oils and oxidation, and the cloth going black is the proof. It’s a widely used trick among climbers. The honest caveat: overuse dries the rubber out, several shoe manufacturers advise against it, and you want to keep it off the sidewalls and rand where it can attack the glue.
Light sanding. Fine-grit sandpaper or a wire brush scuffs off the polished layer and exposes fresher rubber underneath. New soles aren’t smooth, they have a brushed texture, and that’s what you’re aiming for. This genuinely works and it also accelerates wear, so treat it as a last resort rather than maintenance.
Catching Problems Early
Check the high-wear areas each time you clean: thin or pitted patches on the sole, dings, and loose edges where the rubber meets the upper. A small area of delamination caught early can be repaired by cleaning both surfaces, lightly scuffing them, and applying a flexible shoe adhesive. Superglue is the wrong choice here, it dries brittle and cracks as the shoe flexes.
Frequently Asked Questions
How often should I deep clean parkour shoes?
Only when they’re genuinely dirty or smelling. The dry brush after each session does most of the work. Frequent wet cleaning does more harm than good.
Can cleaning bring back grip on worn-out shoes?
Only up to a point. Cleaning removes contamination and glazing, which restores real grip. But if the tread pattern is worn away, no amount of cleaning recreates it. At that point the shoe is finished, and given that most traceurs go through two or three pairs a year, that’s expected.
Is dish soap really better than shoe cleaner?
For soles, a drop of plain dish soap does the job because it’s formulated to cut oils and rinses clean. Avoid anything that conditions or leaves a coating, since that’s precisely the film you’re trying to get rid of.
Where to Go Next
Eventually cleaning stops being enough. Read next: Best Parkour Shoes for Beginners and Are Skate Shoes Good for Parkour?.
Pingback: 6 Best Parkour Shoes For Beginners In 2026 - ParkourChase
Pingback: How To Know When To Replace Your Parkour Shoes - ParkourChase