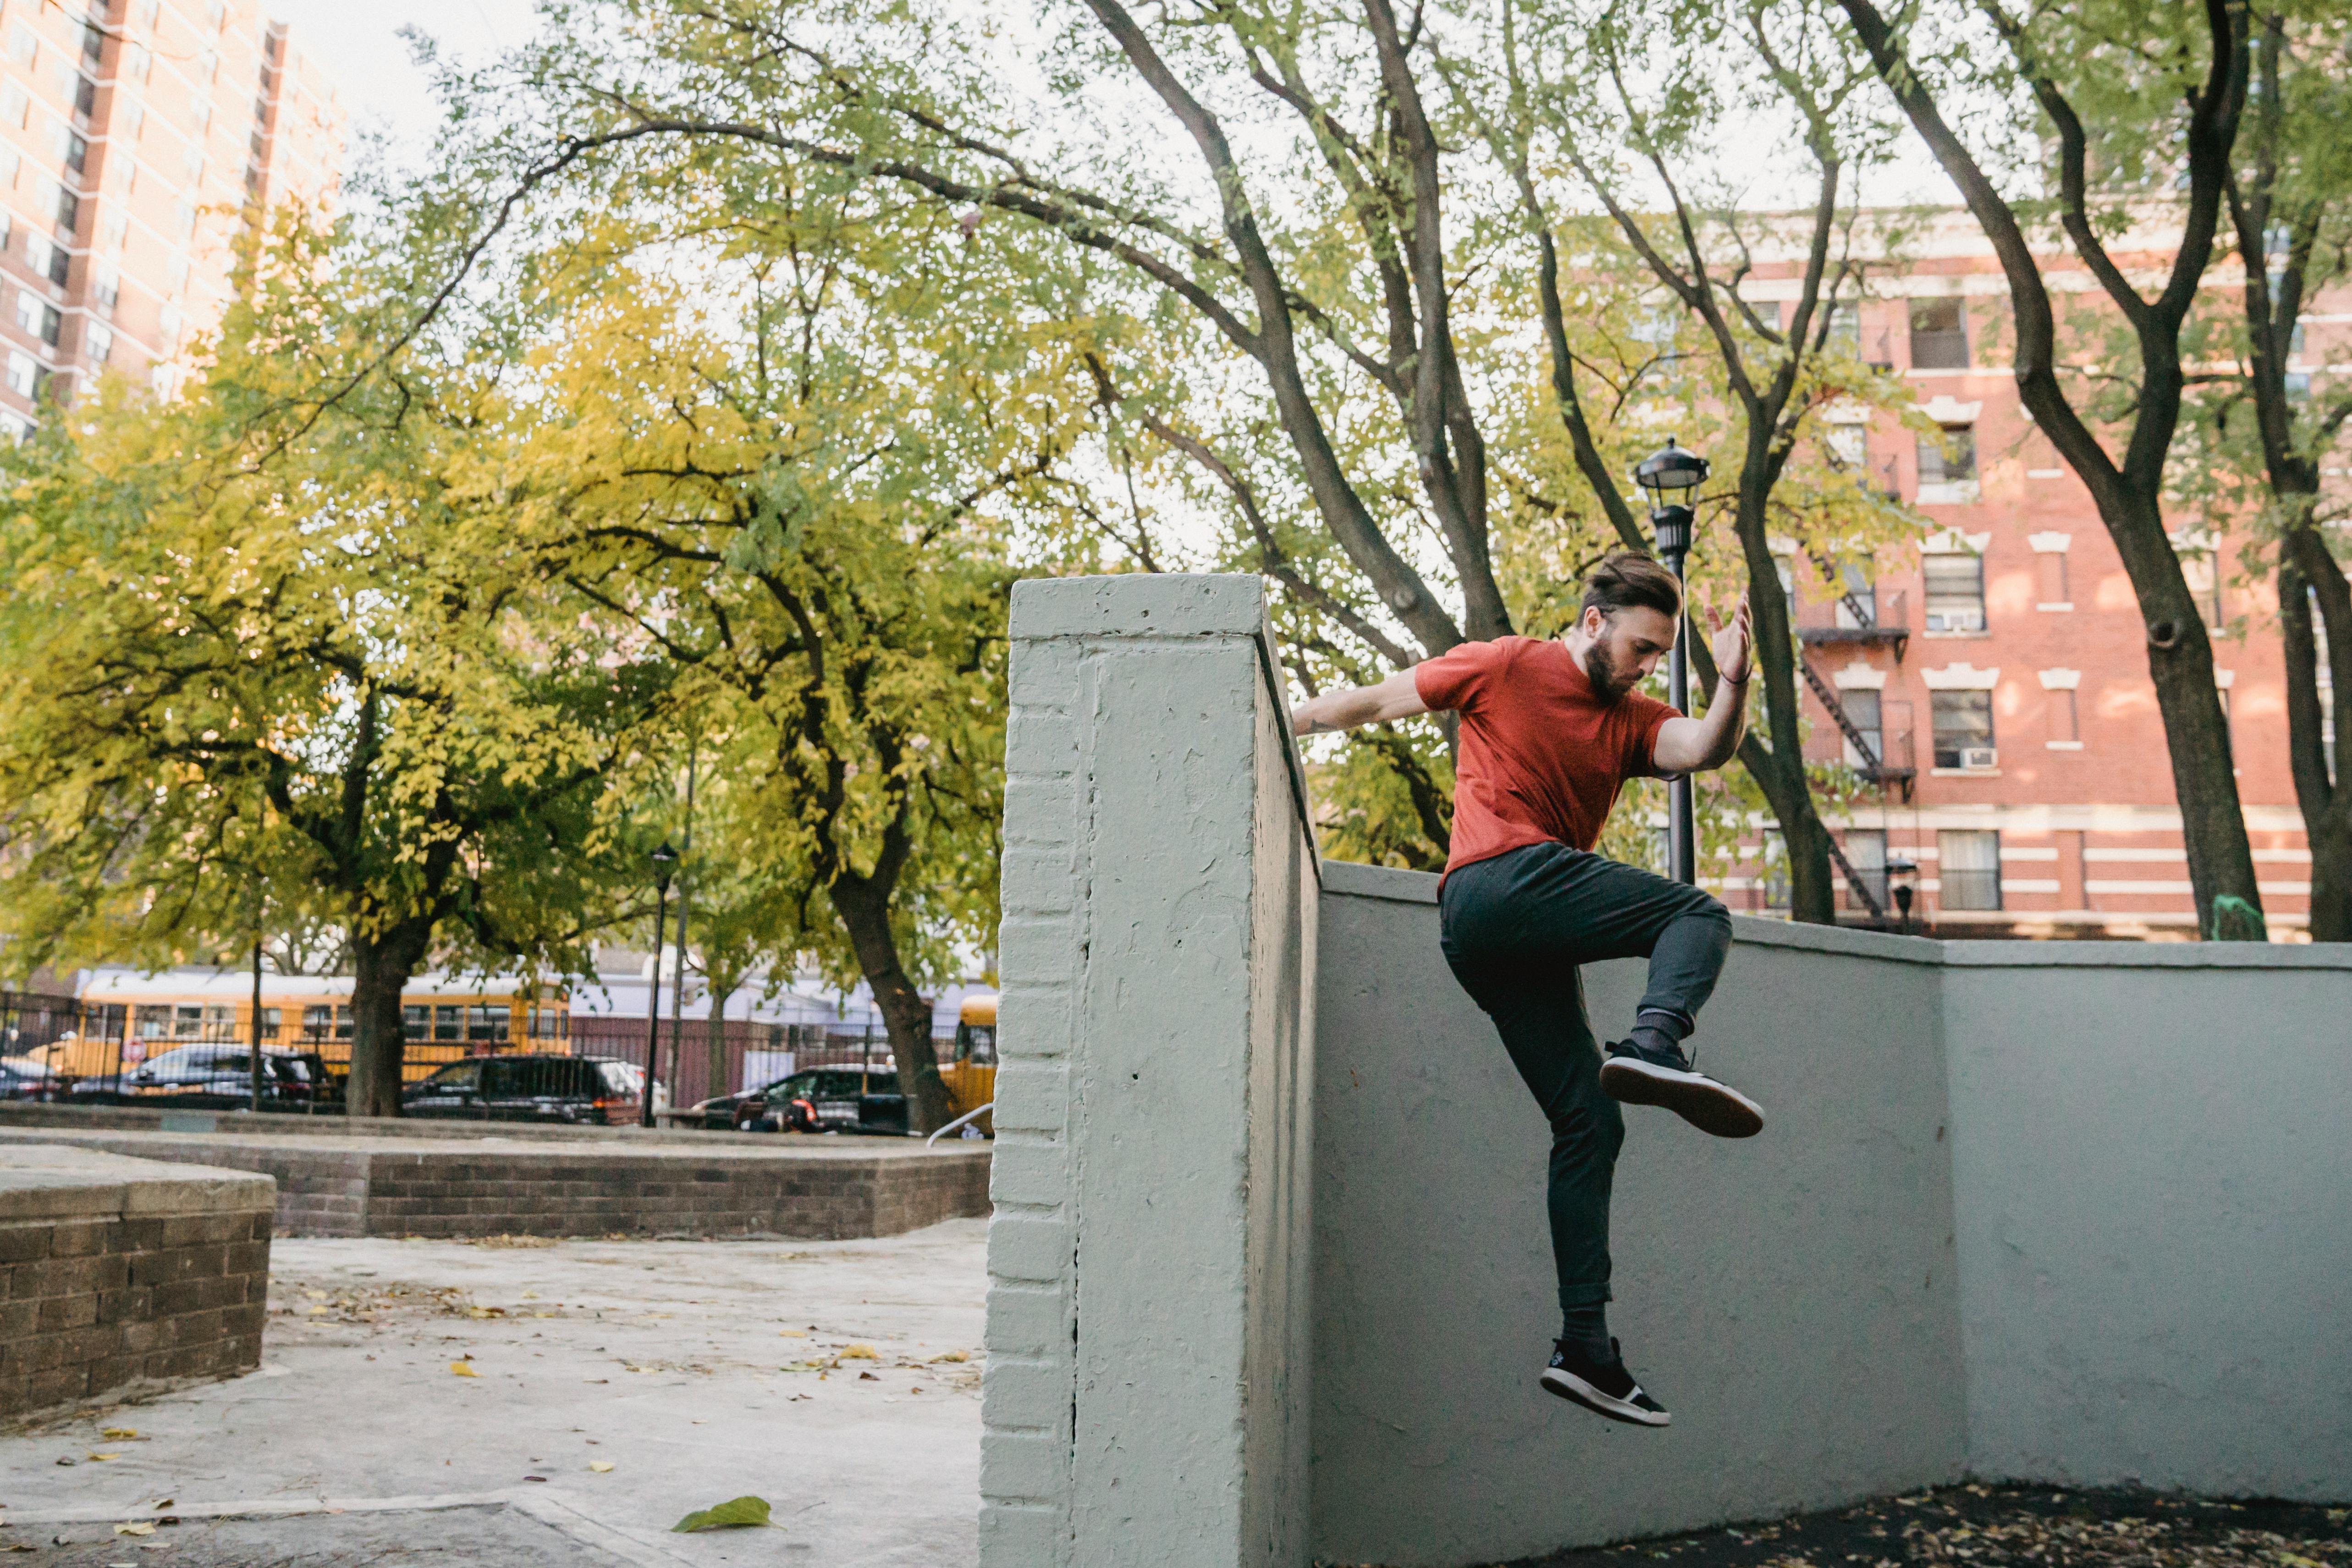
A wall run gets you on top of a wall that’s too high to vault, by converting your horizontal running speed into vertical lift off one foot planted on the wall face. Most beginners fail it for the same two reasons: not enough approach speed, and leaning their chest into the wall instead of staying back. The approach itself matters more than raw strength.
The Prerequisite Most People Skip
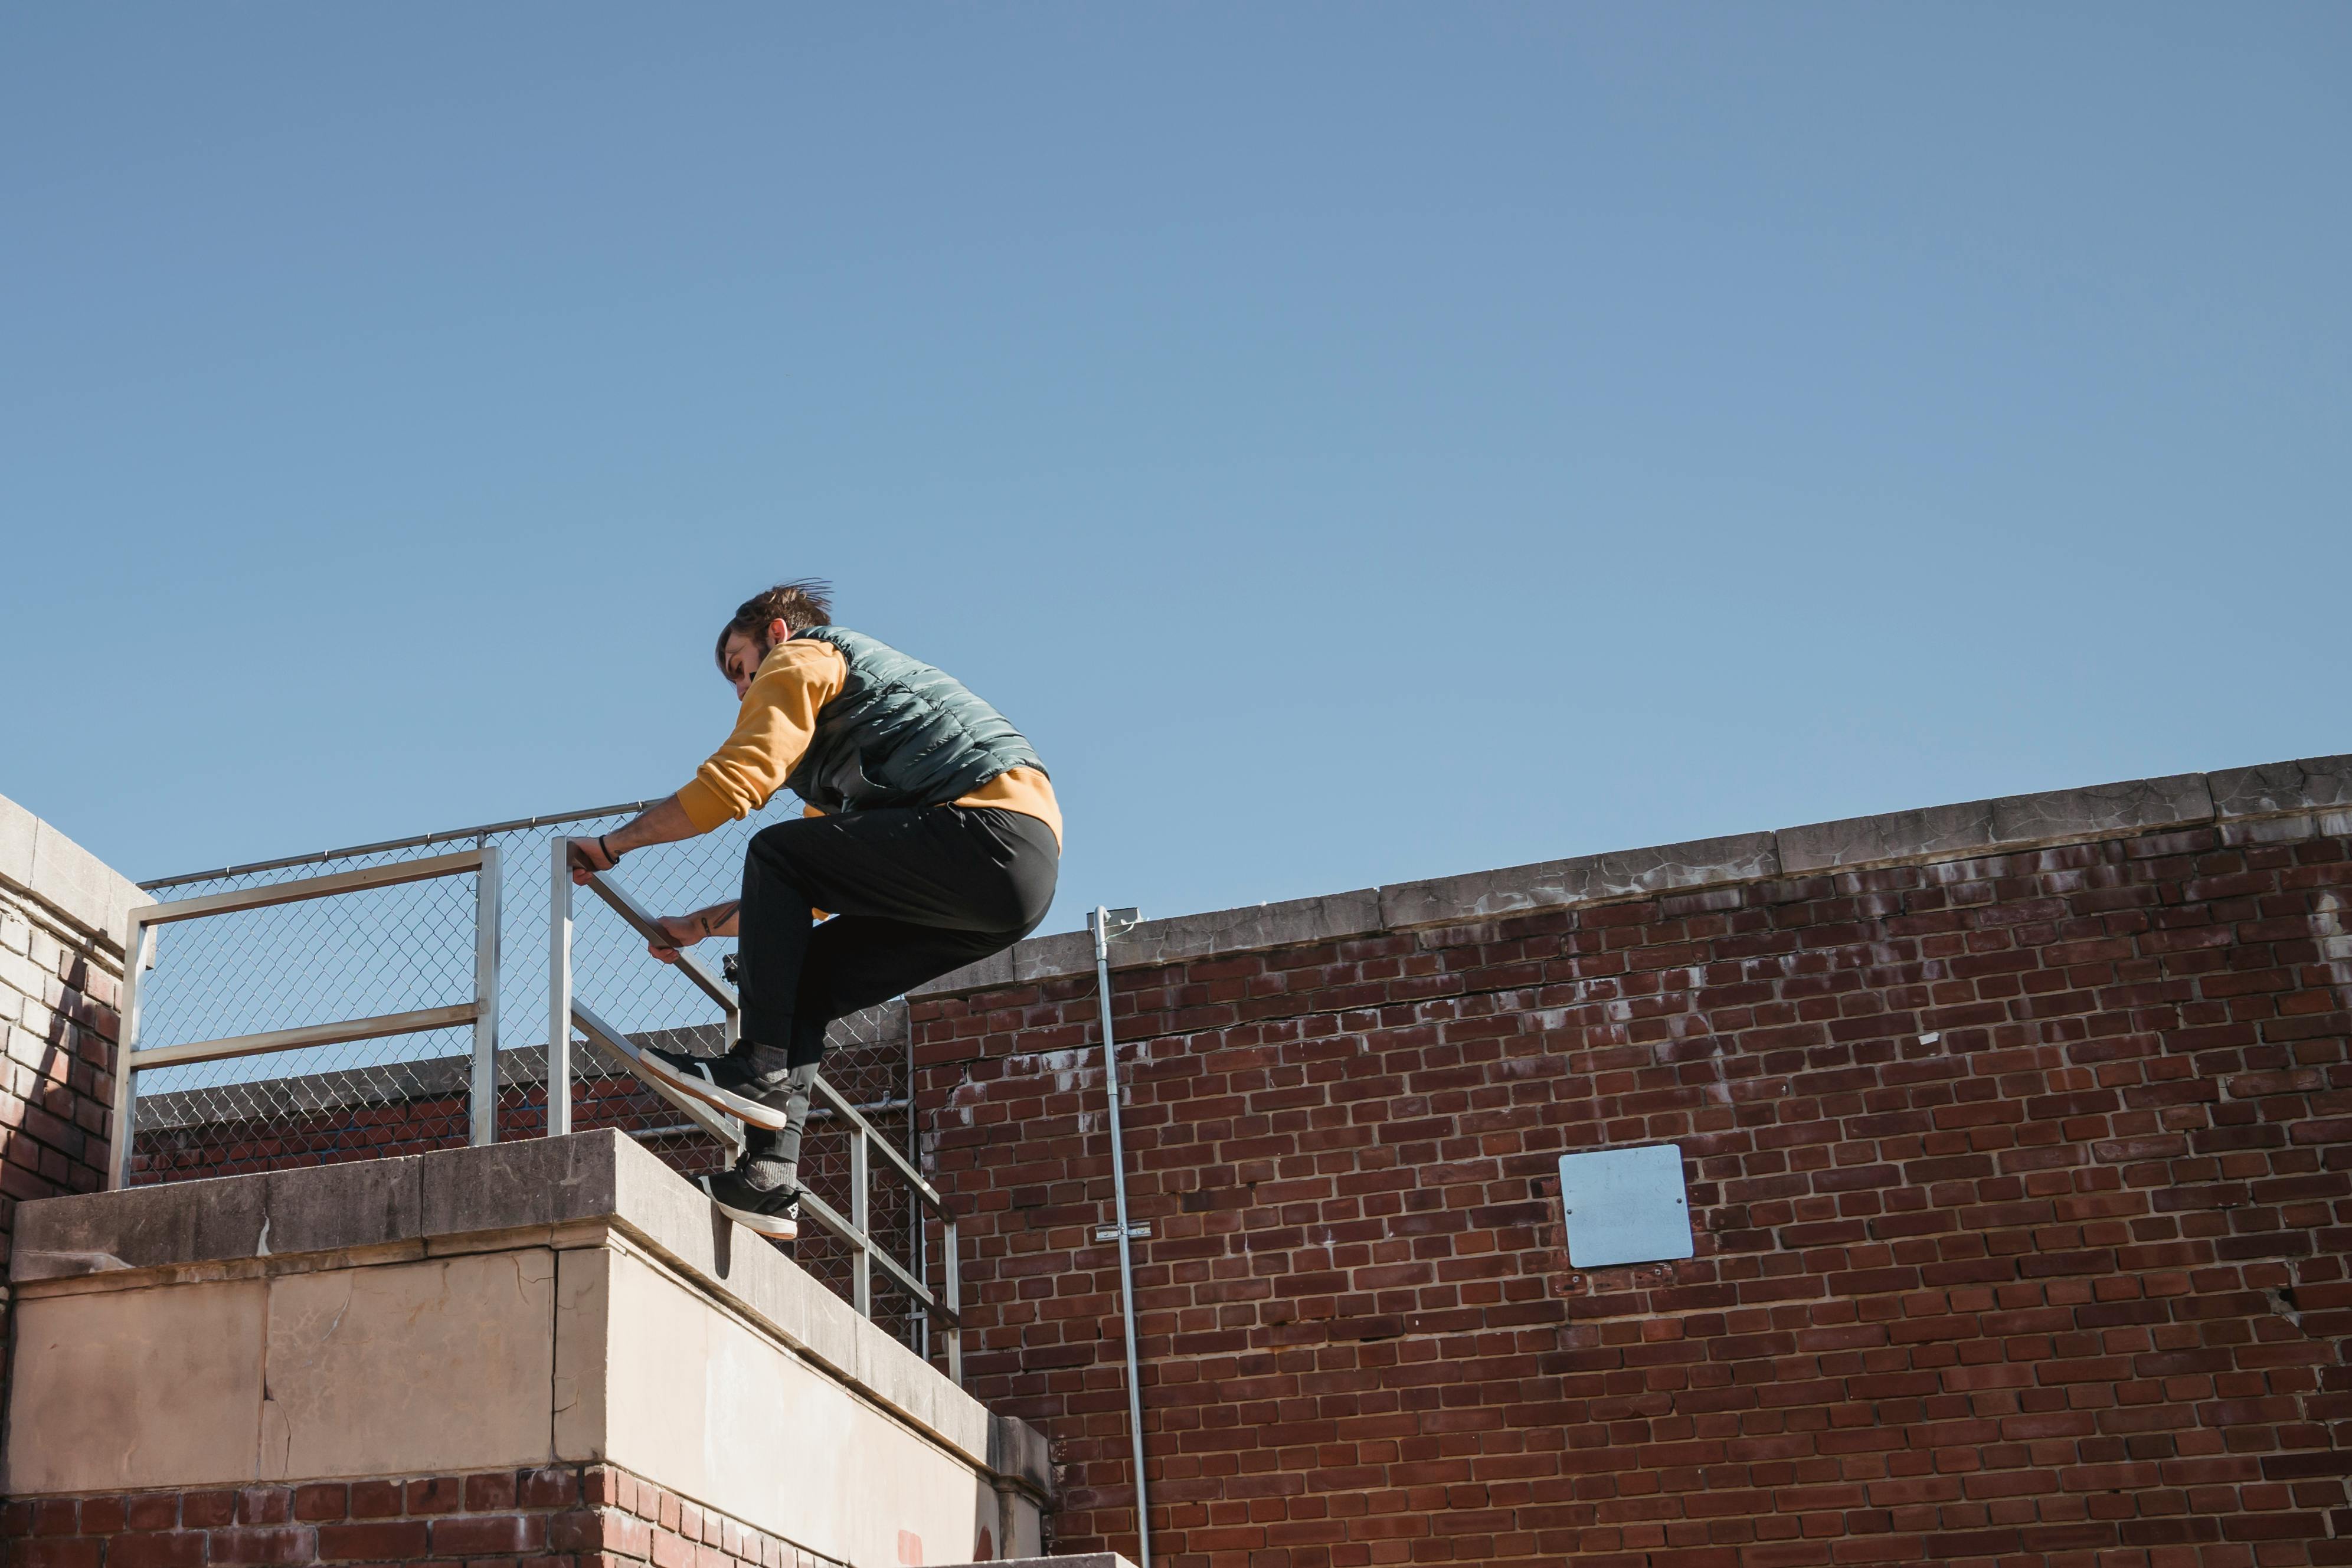
A wall run is really two skills bolted together: getting your hands to the top of the wall, and pulling yourself over from a hang. That second half is the climb-up, and if you can’t already do one reliably from a dead hang, the wall run will strand you halfway up a wall with nowhere to go. Build the climb-up first, then this becomes far less intimidating.
Getting the Approach Right: Long, Then Short
You need at least three or four running strides, more is fine, but a long sprint just tires you out before takeoff. The useful detail is what your last two steps do. A technical breakdown of wall run mechanics describes it well: the second-to-last step is the longest in the whole approach, because it lowers your centre of gravity, and the final step is the shortest. Think “long-short” as your cue. That rhythm is what lets you rebound upward instead of simply crashing forward into the wall.
Foot Placement
Plant the ball of your foot on the wall slightly above hip height. Too low and your foot slips out from under you and your body slams into the wall, this is the single most common failure. If your foot keeps slipping, the fix is almost always to place it higher, not to push harder.
Lean Back, Not In
This is the part that feels wrong and is nonetheless correct. When your foot contacts the wall, your chest should be back, then you bring it toward the wall as you drive upward. Leading with your chest kills your momentum dead, you stop moving up and start sliding down. Contact back, then close the gap.
Drive and Reach
Push off hard through the wall leg while driving your opposite knee up toward your chest. That knee drive genuinely adds height, it isn’t decoration. Reach for the top of the wall with both hands as you extend, and from there you’re into the climb-up.
How to Progress Safely
- Start well below your reach: a wall you can already touch the top of, so a failed attempt just means stepping down
- Add speed before you add height: get the long-short rhythm and the lean automatic at a low wall first
- Check the surface: brick and rough concrete grip well, painted or wet surfaces are how feet slip
- Shoes matter here: a grippy sole is doing real work in this move specifically
Frequently Asked Questions
Why can’t I get more than one step on the wall?
Usually because you’re pushing into the wall rather than up it. The more of your force goes horizontally into the wall, the faster you stall. Aim your push as vertically as you can and the wall becomes something you climb rather than something you collide with.
How high a wall should I be aiming for?
Start below your standing reach and build up gradually. Experienced traceurs work on walls approaching double their own height, but that’s the result of months of progression, not a starting target.
How long does it take to learn?
Many beginners get a basic wall run within a few weeks of consistent practice, assuming the climb-up is already solid. Getting height on it takes considerably longer, since that depends on approach mechanics and explosive power that build over months.
Where to Go Next
The wall run builds directly on wall skills and explosive power. Read next: Wall Climbing Techniques and Tips and Plyometrics for Parkour.
Pingback: The Wall Flip: What It Actually Takes To Learn One Safely - ParkourChase